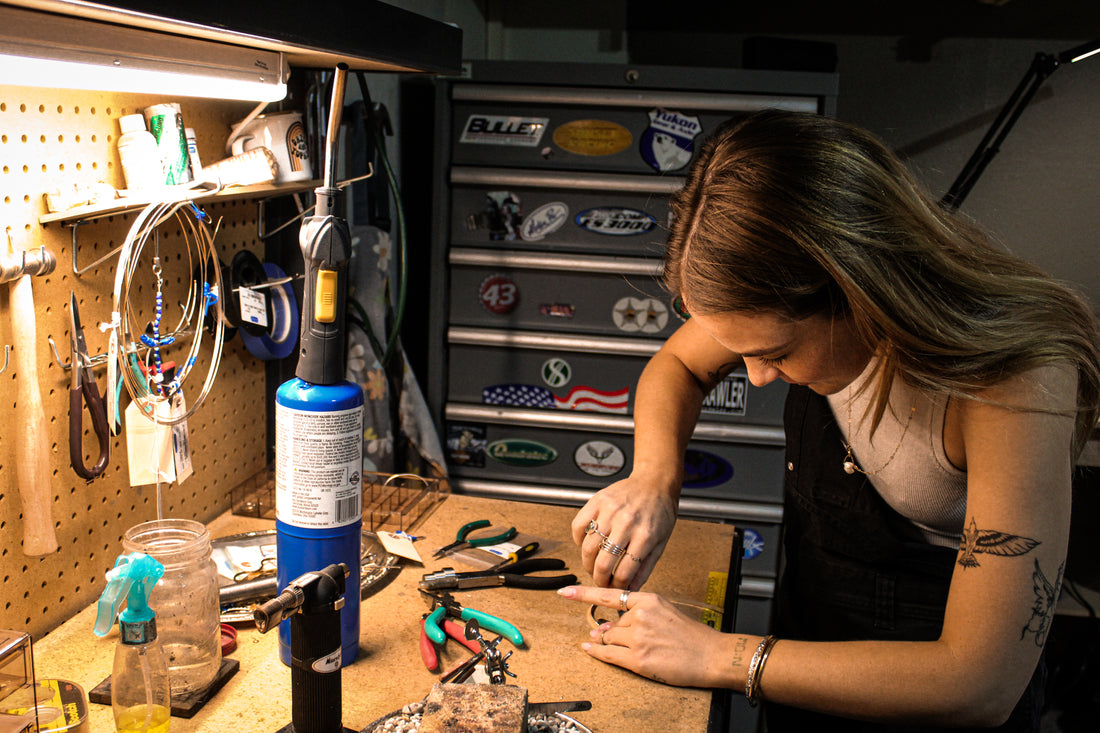
Here’s a step-by-step guide to silversmithing your first bezel set ring, including a list of tools, supplies and materials needed, with links to purchase everything you need from amazon!
Tools and Materials needed:
1. Bezel Wire (Sterling Silver)
2. Jeweler's Saw
3. Solder Pick
5. Silver Solder (easy, medium, and hard)
6. Micro Torch
7. Flux Spray
8. Soldering Block
9. Bezel Pusher or Burnisher
10. Tweezers
11. Pickle Solution (Optional)
12. Ruler or Caliper
13. Files for Jewelry
14. Sandpaper or Emery Board
15. Polishing Cloth
Materials:
1. Cabochon Stone
2. Sterling Silver Sheet (Base Metal)
These tools and materials should help you get started on making your bezel! Feel free to send me an email and let me know if you need any more tool recommendations or guidance during the process! Dazedandtopazed@gmail.com
Once you have your tools and you are in a well ventilated area, wearing a proper respirator and eye protection, you can begin silversmithing your ring following these steps!
Step 1: Measure the Stone
1. Measure the stone you want to set, using a ruler or caliper to get the exact circumference.
2. Cut a piece of bezel wire slightly longer than the circumference of the stone. This gives you extra material for adjustments.
Step 2: Cut the Bezel Wire
1. Use a jeweler's saw to carefully cut the bezel wire to the correct length, ensuring the ends align perfectly.
2. File the ends of the wire to make sure they are flat and smooth so they will fit together snugly when soldered.
Step 3: Shape the Bezel Wire
1. Bend the bezel wire around the stone using flat-nose pliers to create a rough shape.
2. Gently adjust the wire until it fits snugly around the stone, ensuring that the ends meet flush.
Step 4: Prepare for Soldering
1. Spray flux onto the bezel wire where the two ends meet.
2. Place a small piece of solder at the seam or apply a dab of solder paste to the joint.
Step 5: Solder the Bezel
1. Place the bezel on a soldering block.
2. Use the micro torch to heat the entire bezel evenly. Focus on the seam area but move the torch around to prevent overheating one area.
3. Watch for the solder to flow into the seam. Once the solder melts and flows, immediately remove the heat.
4. Allow the bezel to cool for a few seconds, then use tweezers to place it into a pickle solution (if you're using one) to remove oxidation.
Step 6: Shape the Bezel Again
1. Check the fit of the bezel around the stone once it cools. Make any final adjustments by gently reshaping it with flat-nose pliers or by hand.
Step 7: Attach the Bezel to the Base
1. Flux the bottom edge of the bezel and the surface where it will be attached.
2. Position the bezel on the metal backing (the base plate).
3. Place small pieces of solder around the outside of the bezel or use solder paste at the base.
4. Heat the base and bezel with the micro torch, ensuring the solder flows around the base edge of the bezel.
Step 8: File and Sand the Bezel
1. File any excess solder off the bezel joint and the edges of the base to smooth the surface.
2. Sand the bezel lightly to remove any imperfections.
Step 9: Set the Stone
1. Place the stone inside the bezel. The bezel should be snug but not overly tight.
2. Use a bezel pusher or burnisher to gently push the bezel over the stone, working your way around the stone evenly.
Step 10: Final Finishing
1. Polish the bezel and base using a polishing cloth or machine.
2. Make any final adjustments to the fit and finish.
Your ring is now complete!!
Congratulations, you are now an experienced silversmith! the possibilities are endless with what you can now create.


